Wednesday, December 20, 2006

Back on!


Whoa. It's always nice to get to this super-clampy stage. All those clamps look so cool. So cool.

Back graduation


I've been graduating the back -- carving it from the inside to the correct thickness.

Tuesday, December 19, 2006

Back brace...


The back brace is on.

My brace is different from most, if not all. I don't use a spruce brace with the grain orientation opposite that of the back, I use a maple brace with the grain oriented in the same direction as the back. This makes a very stable flat-back bass since the back and the brace can move together with changes in humidity. I've been making backs like this since 2001 and it works very well.

When I glue the brace on, I induce an arch in the back -- and I am now shaping the ribs (where the back is joined -- called the "rib plane") to induce more arch, so there is a significant arch in the back -- a good thing as it is stronger and can therefore be lighter.

Monday, December 11, 2006

The back bevel....


Yesterday, I cut the kerf for the beveled back and bent it. This is the scariest step in the whole process.

I cut two kerfs -- one vertical to the right depth and one angled to meet it at the bottom. Then I flip it over, weight the end and heat the outside of the kerf with a wet, cloth-covered oven element. When it heats up, it gives way in under a minute. Voila.

Linings


The linings are made and the back ones installed.

My linings are a lamination of five layers of poplar -- I laminate them on the same vacuum forms as the ribs, so their fit is perfect and their installation is stress free and equally perfect -- the main reason for doing it so.....

Thursday, November 30, 2006

....Corner miter....


Like this.

Ribs etc....


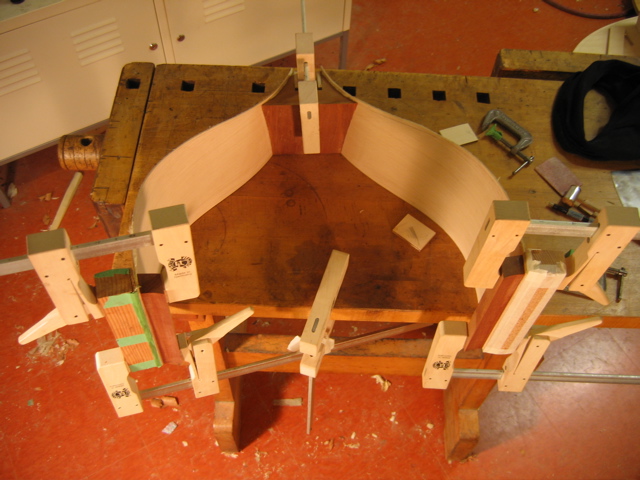
Ok, so I've been making my ribs and blocks and gluing them all together.

My ribs are a lamination of two layers of maple with a very thin layer of silk sandwiched between. The result is very strong, flexible and light 2mm ribs that resist cracking and are free to vibrate to add to the range of overtones of the finished bass -- good thing.

I once BOILED a sample of my ribs for an hour to see if they would de-laminate -- no way; I've hit them, smashed them, bent them, twisted them and otherwise tried get them to de-laminate, but no dice -- they're effectively one piece.

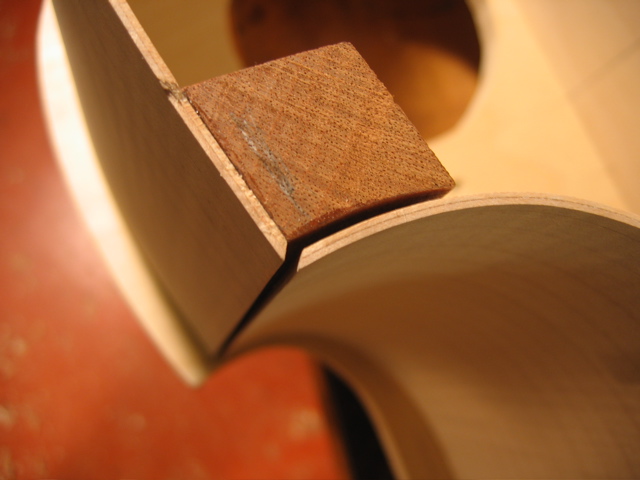
At this point, the corner blocks are glued to the lower and upper ribs with miters cut ready to fit the mitered centre bout ribs -- which I'm doing today.

Wednesday, November 22, 2006

Hi there.


Welcome to my bass-making (and the odd miscellaneousness) blog. I do plan reasonably frequent posts of the current state of my version of this art. I am now in the earliest stages of making a new bass after delivering my latest to Roger in Toronto just yesterday.

I do this for a living here in Victoria, BC -- and instead of sitting at this computer, I should be on my way -- walking through town and along the water to my workshop in VicWest.

B