Monday, May 12, 2008

I'll be back!


Life got in the way and a computer problem made me loose the continuity of my posts; I'll be back where I left off -- but with another bass -- soon (ish). There is the scroll I made, for now....

Tuesday, April 3, 2007

Final graduation....


Today I did the final graduation of the top -- with a 9mm plane and a single, low light to show the contours well. A couple of more steps and I can glue the sucker on.

Blocks, clean-up and label....


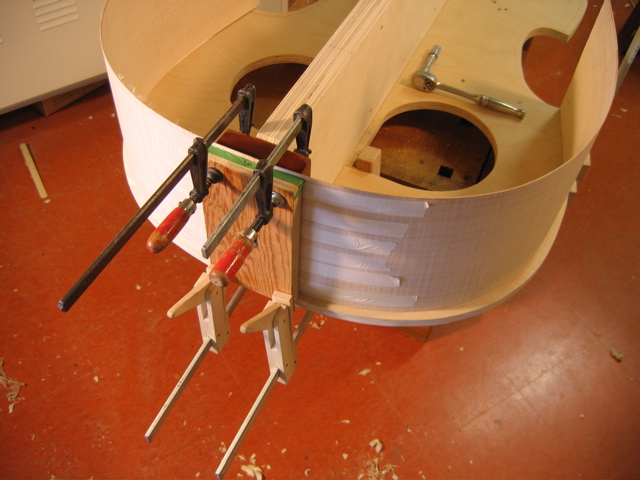
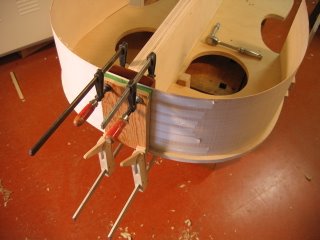
Ok, I've been readying the body for the top to be joined..... Shaping the blocks -- cleaning it all up -- making the inside smooth and sound-reflective -- and adding my letterpress label........

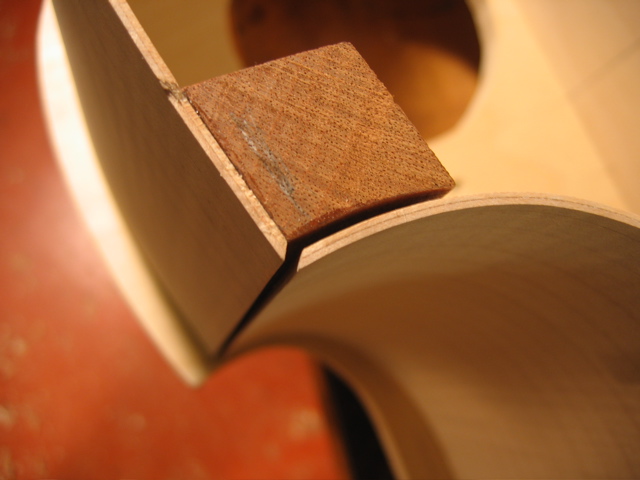
The upper block is shaped specially for two reasons. 1. It makes future repair easier (if the top needs to come off) as there isn't too much gluing surface, and 2. It increases the effective length of the top by about an inch -- and I like to think it's one of the reasons for these bass's killer bottom ends.....

ok

Tuesday, March 27, 2007

Friday, March 9, 2007


The Bassbar


Ok, now it's time to add the spruce bassbar. I chalk-fit it perfectly using dark brown conté and I don't stop trimming and scraping until it fits 100% and there is an even transfer of chalk from the top to the bar when clamped. This takes hours -- sometimes three or four -- sometimes eight or ten.

After it is glued in, the shavings fly and I get the satisfaction of big, picturesque curls of spruce. Sweet.

Thursday, March 8, 2007

f-hole action


At this point -- when the top is ready for the bassbar -- I cut the f-holes just so. It is very important to me just how the f-holes lay on the arching -- and if the top is carved just right, they just work. I'm very sensitive to the fairness of curves, so here I really get into it and make their forms flow.

Top Graduation


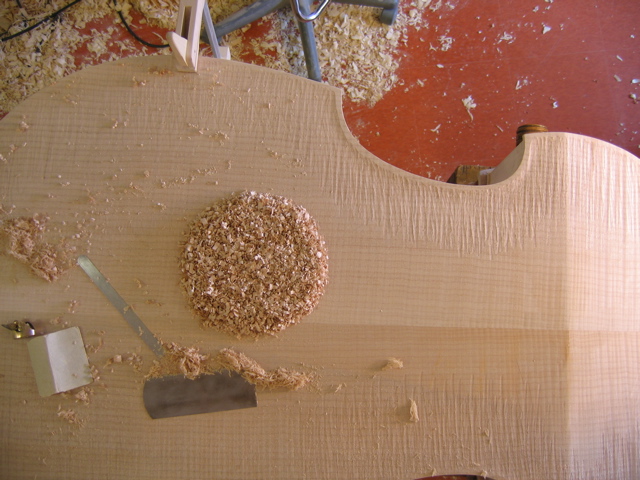
Now things calm back down to hand tools (surprisingly small ones) for the graduation of the top (the process of making it all the correct thickness -- anywhere from 5 to 10mm). At this point, I'm aiming to get the area of the bassbar done. The chips pile up like mad -- every chip is a plane stroke, and there must be billions of them.

Top hogout...


This step is pretty intense -- Hogging out most of the wood on the underside of the top.

First I drill a series of holes to specific depths as guides for the nasty, noisy and totally unpleasant "Lancelot" tool to hog away on an angle grinder. Yee haw! It sucks. The mess is awesome.

Wednesday, March 7, 2007

Top is Shaped..


Ok, a lot of work (and life) has happened since my last post.......

So, this is the final shape of the top -- with the area of the lower f-hole wings carved down for better f-hole/arching goodness.

Notice the edges -- I like to do much of the edge fluting at this stage -- so the arching out to the fluting is pretty much exactly what it's going to be when finished.

Wednesday, January 24, 2007

Top shaping


Carve, carve, carve.

Wednesday, January 17, 2007

Top work


Ok, the top is joined and I'm starting to carve the outside arching -- which I do by eye without templates; now that I understand and know the shape of the arching, it's easy to carve it to the correct shape quickly with a plane.

I used to be interested in automated methods for duplicating a pattern precisely -- so that each top is exactly the same as the next, but I really can't see it saving much time, and I would miss a very important step in getting to know the wood -- and changing the arching to suit it......

The wood I use is Sitka spruce and the stock I am using now is all from the same log -- cut into bookmatched sets perfectly by a friend. It's very nice to get to know the qualities of the wood over the years -- so at least there is one variable eliminated from the vast array.

Wednesday, December 20, 2006

Back on!


Whoa. It's always nice to get to this super-clampy stage. All those clamps look so cool. So cool.

Back graduation


I've been graduating the back -- carving it from the inside to the correct thickness.

Tuesday, December 19, 2006

Back brace...


The back brace is on.

My brace is different from most, if not all. I don't use a spruce brace with the grain orientation opposite that of the back, I use a maple brace with the grain oriented in the same direction as the back. This makes a very stable flat-back bass since the back and the brace can move together with changes in humidity. I've been making backs like this since 2001 and it works very well.

When I glue the brace on, I induce an arch in the back -- and I am now shaping the ribs (where the back is joined -- called the "rib plane") to induce more arch, so there is a significant arch in the back -- a good thing as it is stronger and can therefore be lighter.

Monday, December 11, 2006

The back bevel....


Yesterday, I cut the kerf for the beveled back and bent it. This is the scariest step in the whole process.

I cut two kerfs -- one vertical to the right depth and one angled to meet it at the bottom. Then I flip it over, weight the end and heat the outside of the kerf with a wet, cloth-covered oven element. When it heats up, it gives way in under a minute. Voila.

Linings


The linings are made and the back ones installed.

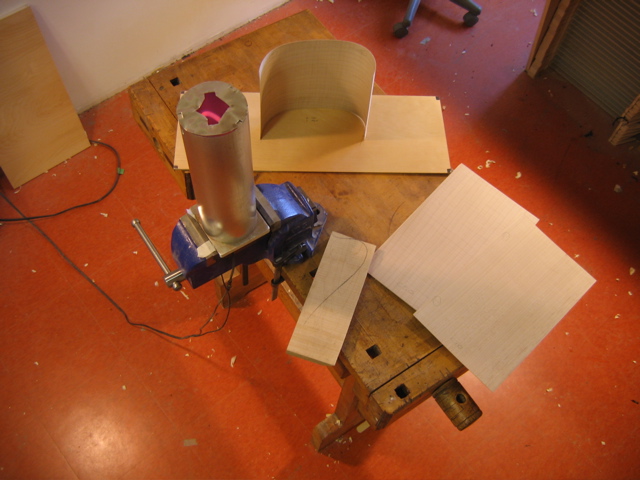
My linings are a lamination of five layers of poplar -- I laminate them on the same vacuum forms as the ribs, so their fit is perfect and their installation is stress free and equally perfect -- the main reason for doing it so.....

Thursday, November 30, 2006

....Corner miter....


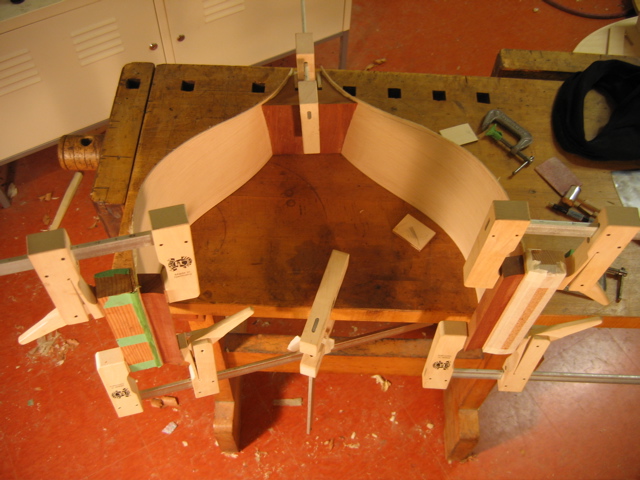
Like this.

Ribs etc....


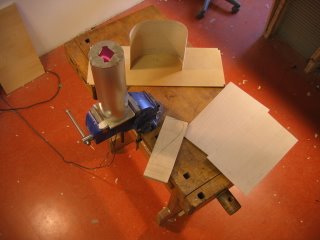
Ok, so I've been making my ribs and blocks and gluing them all together.

My ribs are a lamination of two layers of maple with a very thin layer of silk sandwiched between. The result is very strong, flexible and light 2mm ribs that resist cracking and are free to vibrate to add to the range of overtones of the finished bass -- good thing.

I once BOILED a sample of my ribs for an hour to see if they would de-laminate -- no way; I've hit them, smashed them, bent them, twisted them and otherwise tried get them to de-laminate, but no dice -- they're effectively one piece.

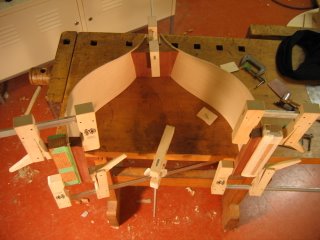
At this point, the corner blocks are glued to the lower and upper ribs with miters cut ready to fit the mitered centre bout ribs -- which I'm doing today.

Wednesday, November 22, 2006

Hi there.


Welcome to my bass-making (and the odd miscellaneousness) blog. I do plan reasonably frequent posts of the current state of my version of this art. I am now in the earliest stages of making a new bass after delivering my latest to Roger in Toronto just yesterday.

I do this for a living here in Victoria, BC -- and instead of sitting at this computer, I should be on my way -- walking through town and along the water to my workshop in VicWest.

B